Overview of Liquid Cooling Solutions
Liquid cooling solutions are gaining traction as an innovative method for dissipating heat generated by powerful computing components, especially suited for high-performance systems like the Intel Core i9 processors. Unlike traditional air cooling, which relies on fans to blow air over heatsinks, liquid cooling systems use a liquid coolant to absorb and transfer heat away from critical components.
The benefits of liquid cooling include higher thermal efficiency and quieter operation. This is because liquids generally have a higher specific heat capacity than air, allowing them to absorb and distribute more heat. Thus, liquid cooling systems can keep components cooler, which may lead to enhanced performance and longevity.
Also read : Ultimate step-by-step manual for adding and setting up extra ram in your lenovo thinkstation p620
There are different types of liquid cooling systems to consider:
- Closed-loop systems, also known as all-in-one (AIO) coolers, are pre-assembled units that are easy to install and require minimal maintenance.
- Custom loop systems allow for more tailored configurations, providing superior cooling performance but requiring more expertise to assemble and maintain.
When selecting a liquid cooling solution, ensuring compatibility with your Intel Core i9 processor is crucial. This means selecting a system that fits within your system’s physical constraints and cooling requirements, providing efficient long-term performance. By integrating liquid cooling solutions with powerful processors, users can achieve optimal thermal management, even under demanding tasks.
Introduction to Cooler Master MasterBox NR600
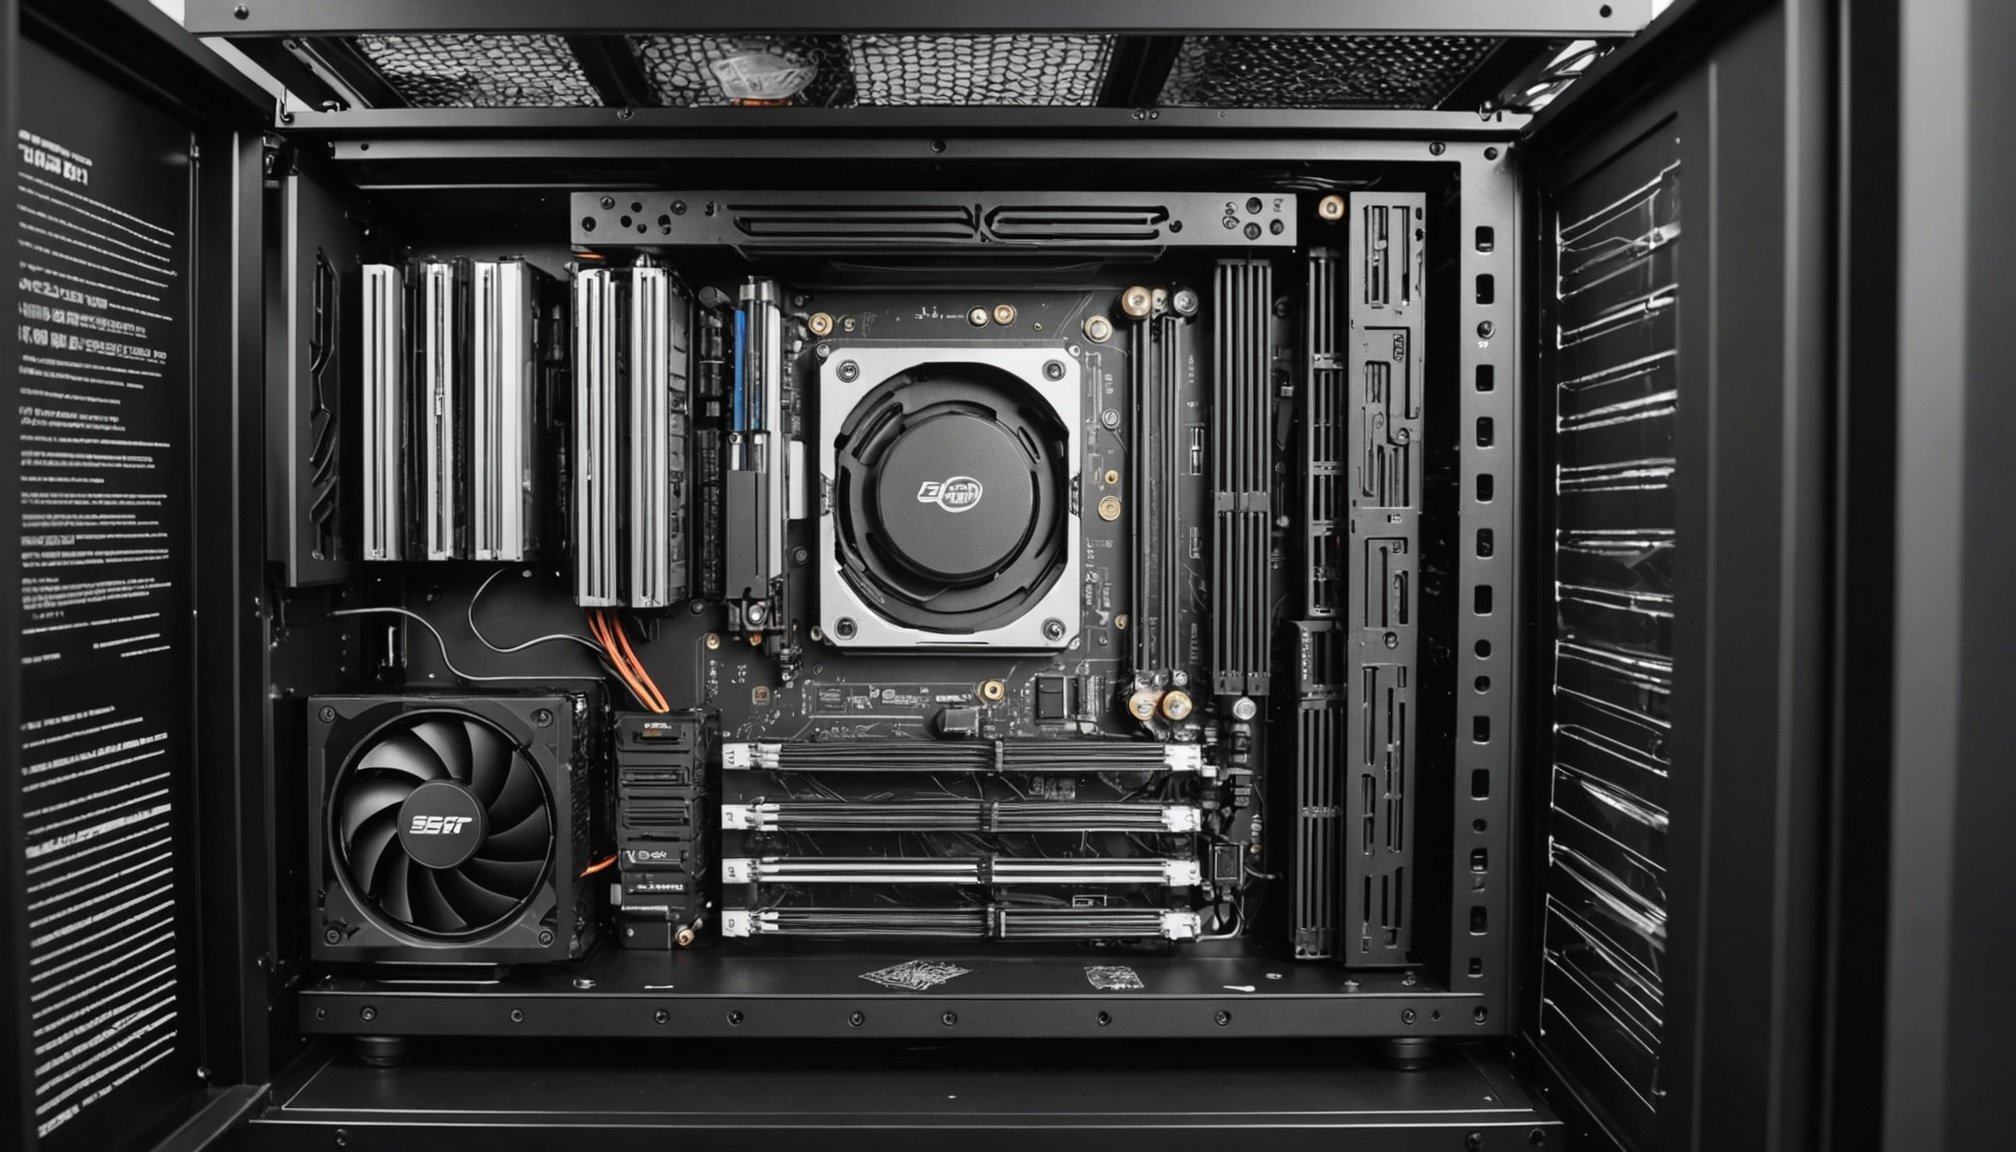
The Cooler Master MasterBox NR600 is a well-crafted PC case that balances minimalistic aesthetics with functionality. Known for its versatility, it caters to both air and liquid cooling enthusiasts. Let’s delve into its key features.
At the heart of the MasterBox NR600 is its clean and sophisticated design, offering excellent airflow with a full mesh front panel. The internal layout is efficient, designed to accommodate an extensive variety of cooling solutions. This case supports up to three 120mm fans or four 140mm fans, ensuring that your system stays cool under intense loads.
When it comes to liquid cooling, the MasterBox NR600 rises to the challenge. Its spacious interior can house a 280mm radiator at the front or a 240mm radiator on top, thus providing flexibility for enthusiasts who prefer custom water loops or all-in-one (AIO) liquid coolers.
Compatibility is paramount with the NR600, as it supports graphics cards up to 410mm in length and CPU coolers up to 166mm in height. It also offers ample storage solutions with multiple 2.5″ and 3.5″ drive bays, catering to a range of storage configurations.
The Cooler Master MasterBox NR600 is a prime choice for builders seeking a balanced, cooling-optimized case with sleek design elements.
Materials and Tools Needed
Embarking on a liquid cooling installation not only requires the right skills but also the precise materials and tools. This ensures efficiency and durability.
First, compile a complete list of the necessary materials. Essential items include coolant liquid, tubing, water block, reservoir, radiator, and fittings. For quality assurance, brands like Corsair and EKWB offer reliable products. Their coolants provide optimal thermal performance while their tubing ensures flexibility and resilience.
In terms of tools needed, a few basics are indispensable for the installation. Wrenches and screwdrivers are required to secure fittings and components. A heat gun is often recommended for shaping and installing tubing efficiently. Additionally, a small cutting tool will assist in trimming tubes to the desired length safely.
To ensure your setup is optimal, adhering to recommended brands and product suggestions is crucial. This focus guarantees better compatibility and performance. For instance, EKWB’s water blocks are renowned for their excellent heat dissipation properties, making them a solid choice for enthusiasts seeking robust cooling solutions.
Prioritize acquiring high-quality components and tools to facilitate a flawless liquid cooling system installation. This preemptive step is key in achieving exceptional thermal management for your computing devices.
Step-by-Step Installation Process
Installing a liquid cooling system might seem daunting, but breaking it down into manageable steps can simplify the process. This guide will help you through each phase, from preparing your case to mounting the radiator and installing the pump and water block.
Preparing the Case
Before starting, ensure your case is compatible with the liquid cooling system. Remove any obstacles like pre-installed fans that might interfere with the radiator. Clean the interior thoroughly to prevent dust buildup, which can hamper performance.
Mounting the Radiator
Positioning the radiator is crucial for optimal airflow. It should be mounted where it can intake cool air, such as at the top or front of the case. Attach the radiator securely, ensuring no cables obstruct airflow. Use the screws provided in your cooling kit for a snug fit.
Installing the Pump and Water Block
Align the pump and water block over the CPU for effective heat transfer. Most blocks come with pre-applied thermal paste, but if not, apply a thin layer evenly across the CPU. Secure the pump tightly onto the motherboard, ensuring it remains stable and minimizes vibration. Recheck all connections before powering on to confirm a successful installation of your liquid cooling system.
Compatibility Considerations
When exploring compatibility guidelines for liquid cooling systems with an Intel Core i9, a few essential considerations must be addressed. Ensuring your chosen cooling system aligns seamlessly involves understanding your processor’s specific needs and hardware requirements.
Firstly, socket types matter. The Intel Core i9 series typically supports the LGA 1200 or LGA 1700 sockets. It’s crucial to verify that your cooling system’s mounting hardware is compatible with these socket specifications. Check the packaging or the manufacturer’s website to confirm.
Moreover, if you’re using a MasterBox NR600 case, clearance and fitting must not be overlooked. This chassis often supports a variety of liquid cooling setups, providing ample space for radiators and fans. However, due diligence is necessary to ensure that your radiator size and fan arrangement do not hinder other components like RAM or GPU. Measure both your cooling system and case dimensions to prevent any spatial conflicts.
Lastly, while considering Intel Core i9 cooling, assess the thermal design power (TDP) your cooler can handle. The Core i9 processors generate significant heat, and the selected cooling system should efficiently manage this by supporting or exceeding the TDP core specifications. Ensuring these aspects align will lead to optimal performance and prolong your system’s lifespan.
Performance Benefits of Liquid Cooling
The cooling performance of liquid systems offers outstanding temperature control compared to traditional air cooling. By efficiently distributing heat, liquid cooling solutions maintain lower operational temperatures, leading to improved thermal management. This precise temperature regulation prevents overheating, ensuring optimal device functionality and prolongs lifespan.
Thermal management with liquid cooling systems is superior due to its ability to rapidly transfer heat away from key components. Liquid conducts heat more efficiently than air, which allows for more effective cooling of high-performance or overclocked systems. This enhanced thermal efficiency can be critical in preventing thermal throttling, where the CPU or GPU reduces performance to manage excess heat.
In comparison, air cooling relies on fans to move heat away, which can be limited by airflow restrictions and ambient temperature. While effective to a degree, air cooling often struggles to maintain stable temperatures under heavy loads, thus impacting performance.
Furthermore, liquid cooling is exceptionally advantageous for overclocking enthusiasts. By keeping temperatures in check even at higher voltages and frequencies, individuals can safely push their systems beyond factory settings without the risk of overheating. This means gains in performance that are unattainable with standard air cooling methods, offering a remarkable benefit for users demanding peak computational power.
Maintenance and Troubleshooting Tips
Regular maintenance is crucial to ensure the efficient functioning of your liquid cooling system. To begin, routinely check and top up the coolant levels, ensuring it’s clean and free from debris. Over time, dust and dirt may accumulate in the radiators and fans, so a scheduled cleaning is necessary. Use compressed air or a soft brush to clear these components without causing damage.
Troubleshooting problems that arise in liquid cooling systems can often be resolved by understanding common issues. One frequent concern is a sudden increase in CPU or GPU temperatures. This might indicate a pump failure or air bubbles trapped in the system. Check the pump activity by feeling vibrations, and gently tilt the system to dislodge air bubbles.
When maintaining the system, safety is paramount. Always power down and unplug your computer before commencing any maintenance procedures. This simple precaution can prevent potential electrical hazards and protect the components. Use anti-static wristbands to avoid damaging sensitive parts with static electricity.
Routine inspections can significantly reduce unexpected malfunctions. Documenting any insights or occurrences during maintenance can lead to more effective troubleshooting in the future. Remember, a well-maintained system not only ensures optimal performance but also prolongs the system’s lifespan.
Visual Guides and Diagrams
Effective installation diagrams are essential in ensuring the smooth setup of complex systems. These visual instructions not only streamline the process but also eliminate potential errors that may arise from solely written directives. High-quality diagrams should ideally include colour coding and simple labelling to enhance clarity and understanding.
The format of these diagrams must cater to various levels of technical expertise, which means they should range from basic flowcharts for beginners to detailed schematics for advanced users. Furthermore, interactive elements such as zoom capabilities or step-by-step animations can further improve the utility of these guides.
Incorporating external design resources is also highly beneficial. Platforms like Canva or Lucidchart offer a plethora of tools for crafting custom diagrams, ensuring that the visual instructions are not just informative but also engaging. These tools often feature easy-to-use templates and design elements that can be tailored to specific installation needs.
When considering resources for installation diagrams, it’s important to evaluate both free and paid options, ensuring they provide the necessary flexibility and detail. By relying on well-crafted visual aids, the installation process becomes a clear and efficient task rather than a time-consuming challenge.